PentesterAcademy Certified Enterprise Security Specialist (PACES) review
Introduction
I just passed the PentesterAcademy Certified Enterprise Security Specialist exam. The lab and the course is made by PentesterAcademy and is known as the Global Central Bank(GCB). It is the biggest red teaming Active Directory lab they offer.
The material
The GCB course consists out of nine videos with a total length of 3 hours. The video’s covers topics such as:
- PAM Trusts
- Local Administrator Password Solution (LAPS)
- PowerShell Web Access (PSWA)
- Windows Linux subsystem (WSL)
- Unconstrained delegation and the printer bug
- Resource Based Constrained Delegation (RBCD)
- Just Enough Admin (JEA)
- Exchange
They course introduces new concepts and its expected to have the knowledge from CRTP and CRTE. With the material they also give attack path diagrams for whenever you are stuck, these diagrams give small hints on which and how the next machine could be exploited.
The labs
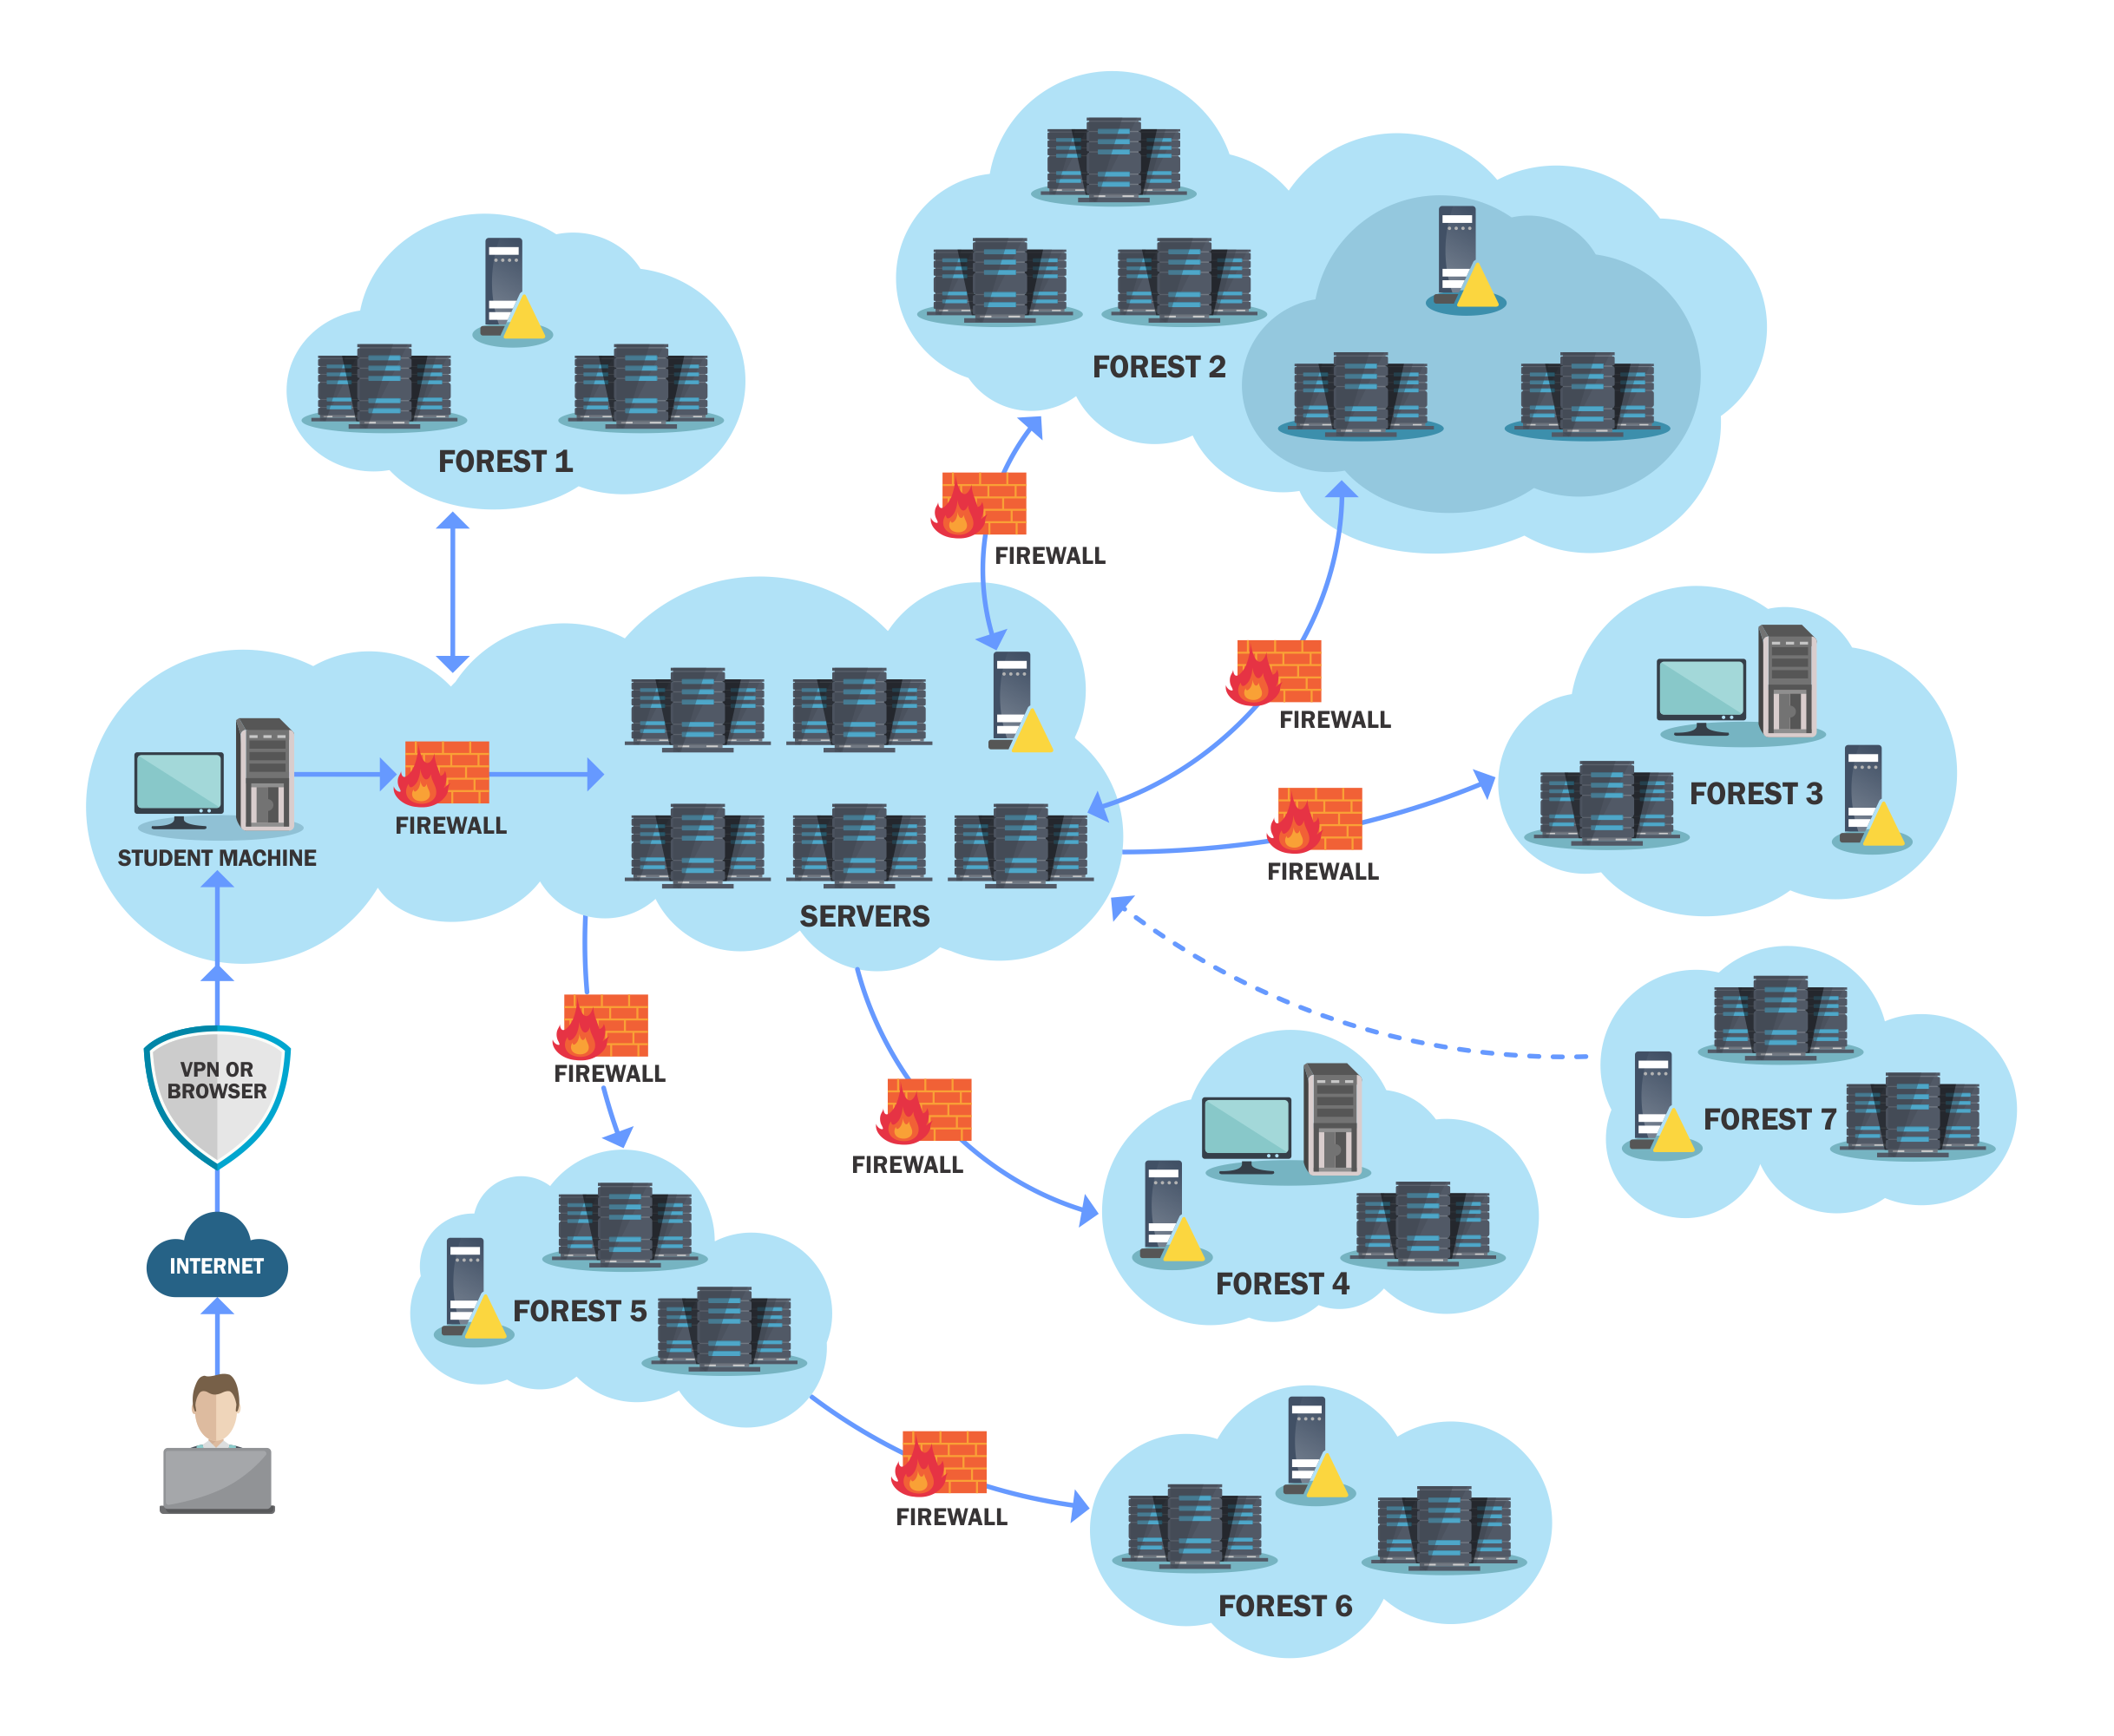
The lab consists out of 7 forests, 9 domains and around 25-30 machines. The lab exercises are split into 12 sections and multiple attack paths. When you start the lab you are provided with a VPN pack and Apache Guacamole browser access. I prefered the lab pack and used that to RDP into the Windows attacking machine. It is expected that you execute the attacks from this VM and bring your own toolset. There is nothing installed on the machine and you don’t start with high privileges.
The lab was big and is good designed which made it fun to exploit everything and progress in the lab. I was already familiar with most abuses and misconfigurations except PAM, PSWA, WSL and JEA. The part were I struggled the most was in the post-exploitation fase where you needed to find some kind of information from enterprise applications or for example the DNS service on the DC. However whenever you are stuck you can mail the lab team and they will give you some information on how to progress further! The lab really looks like the drawing on their website!
It took me around three weeks to complete the lab. I think I did it pretty fast because I spent quite some time on it during those weeks and I was already familiair with the concepts. I bought one month of lab access so I knew I had to push it to make it since most people recommended two months of access.
The exam
The exam environment exists out of five machines with the goal to get command execution on each of them. A big difference compared to CRTP and CRTE is that it is also required to fully remediate the attacks, misconfigurations and abuses while not breaking functionality in the lab. They will give a list of functionalities which should still work after patching to be able to pass. It is also required to fully document the implementation of the remediations and why you chosen to do so.
My exam experiences
I thought I was starting the exam at 9 AM in the morning but apperantly it was 10 AM. The exam environment has the same connectivity options as in the lab, either VPN or Apache Guacamole via the browser. The exam environment was stable and I didn’t have any connectivity issues nor have to deal with slow machines. Everything was fast, which I liked.
For me the exam itself wasn’t hard, not like how the lab was. But this also might be because I have a lot of experience atttacking Active Directory. The lab definitly prepares you well for the exam. If you have completed the whole lab and if you remediated everything inside the lab you should be able to pass the exam.
Tips for the lab & certifiation
I would highly recommend building your own AD lab locally, this really helped me during the remediation fase of the lab and exam since I basicly knew how you configure these vulnerabilities, so you also know how to fix it. You can find more on how I built a lab here.
For in the lab my tips are:
- Do a lot of post-exploitation and also think outside of On-Prem AD.
- Keep scanning the network from each compromised machine with for example Invoke-Portscanner or the extra function I posted here
Everything learned from the course is added to my cheatsheet.